Posted on — Leave a comment

Vinyl Tile Installation Labor Cost

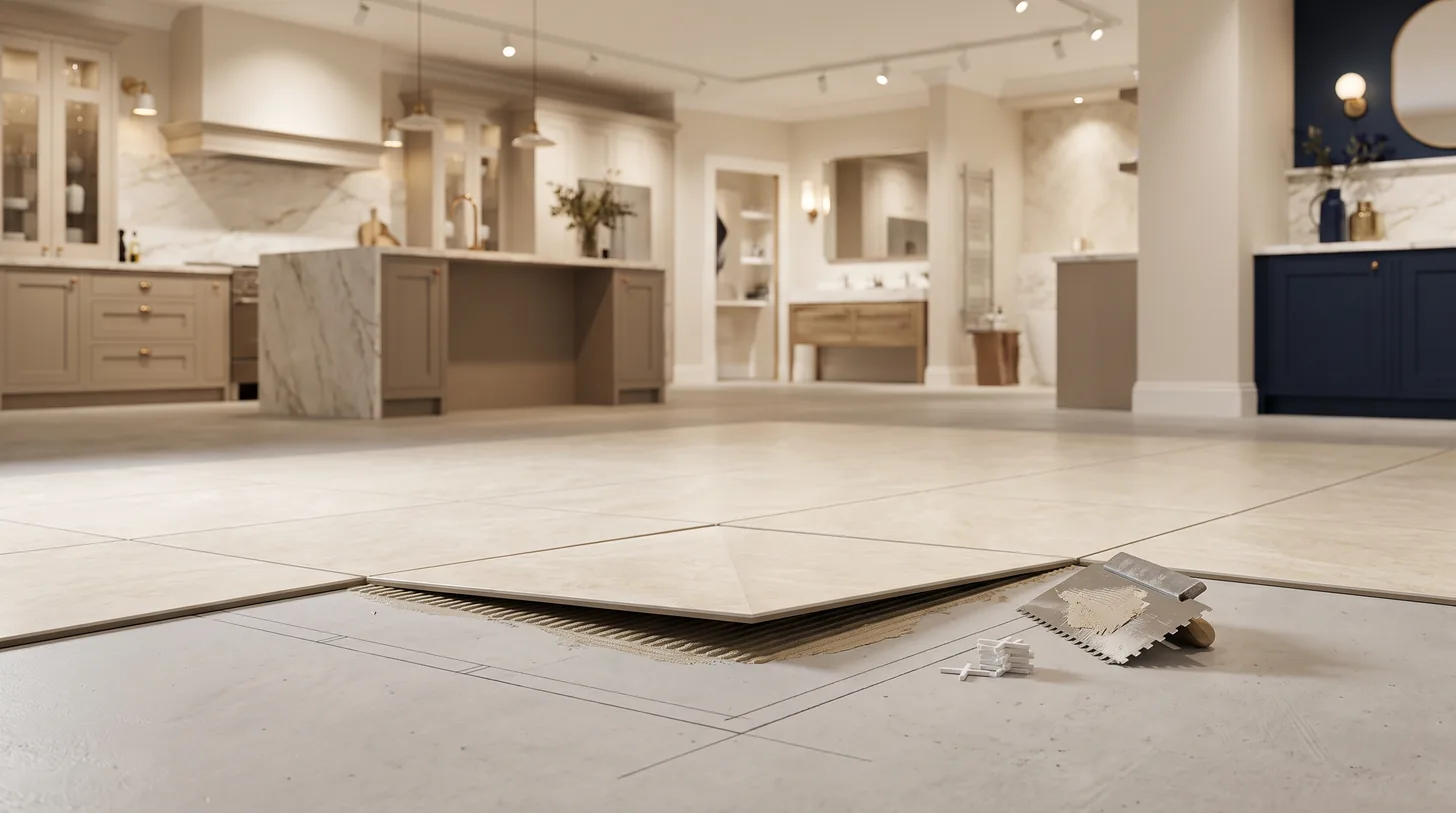
Stone look vinyl tile being set with notched trowel

Vinyl tile installation labor costs $2 to $5 per square foot, which is 40 to 55 percent of a typical installed price of $5 to $10. Glue-down vinyl tile sits at the top of the labor range because the subfloor has to be prepared to a much tighter tolerance. Click-lock floating tile sits at the bottom because it forgives a subfloor that glue-down would not.

Labor is the larger half of this job, which is why quotes that only discuss the tile are incomplete. We supply the material from our Derwood showroom and H&C Construction installs it, so the split below is the real one.

What the labor covers

Task Per sq ft Notes
Demolition and disposal of old floor $1.00 to $2.50 Higher for mortared tile than for vinyl or carpet
Subfloor prep and leveling $0.50 to $3.00 The variable that decides the whole quote
Glue-down installation $3.00 to $5.00 Trowel, adhesive, roll, cure time
Click-lock floating installation $2.00 to $3.50 Faster, no adhesive, no cure
Transitions, trim, thresholds $100 to $400 per room Per doorway and material change

In Montgomery County expect the upper half of the labor ranges. The material does not vary much by region; the labor does.
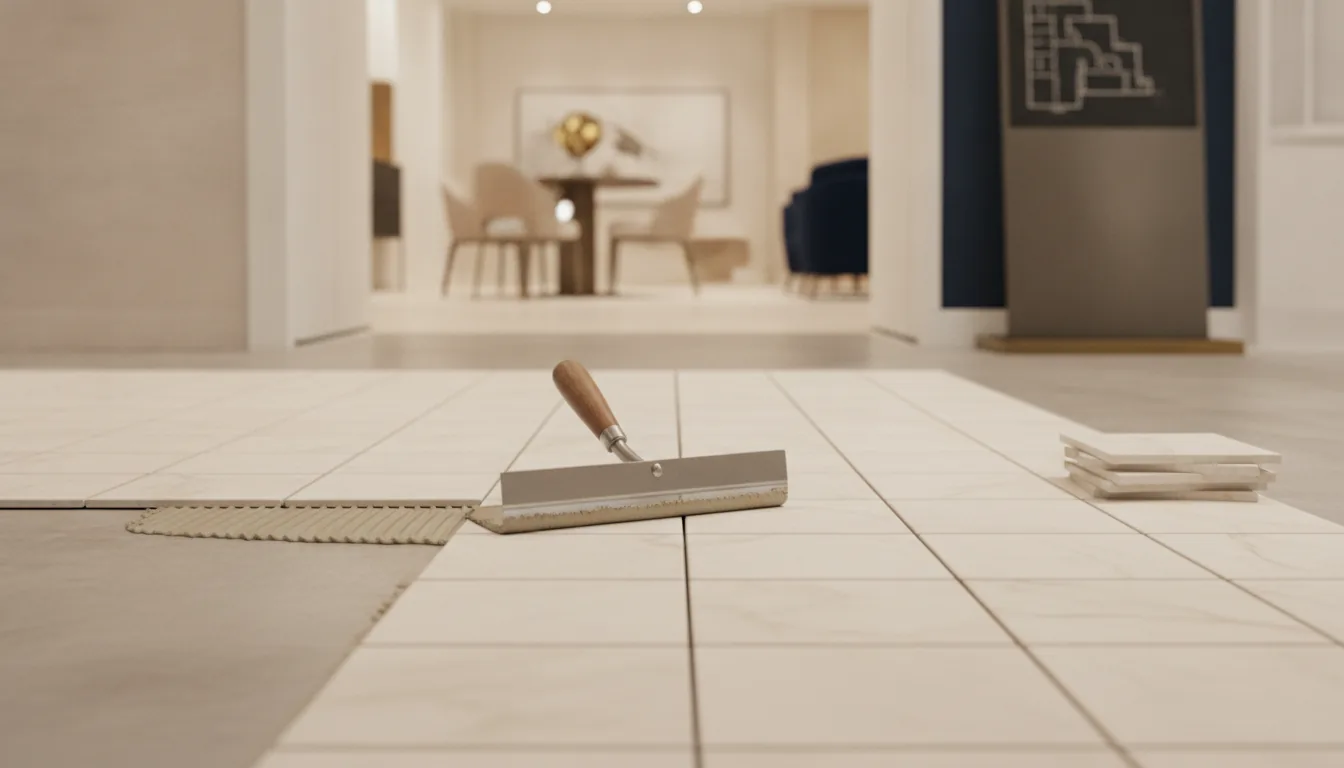
Vinyl tile grid with adhesive ridges at leading edge

Glue-down vs click-lock, honestly

Glue-down costs more to install and is better in three situations: large open areas where a floating floor can move and gap, rooms with heavy rolling loads, and anywhere with wide temperature swings such as a sunroom. It also feels more solid underfoot because there is no air gap.

Click-lock costs less and is better in two: over a subfloor that is not perfectly flat, and anywhere you might want to lift the floor later. It is also the only practical choice if the existing floor is staying in place underneath.

The mistake is choosing glue-down for a large room and then not budgeting the subfloor prep it requires. Adhesive telegraphs every imperfection. A floor that is out of flat by a quarter inch over ten feet is fine under click-lock and visible under glue-down.

Why subfloor prep is the real variable

Two identical rooms can be quoted $2 and $5 per square foot in labor for the same product. The difference is almost never the installer’s rate. It is whether the subfloor needs patching, skim coating or self-leveling compound before anything is laid.

Ask every bidder what their quote assumes about the subfloor, and whether leveling is included or excluded. A quote that is silent on it will produce a change order.

For the floor-tile equivalent see tile floor installation cost per square foot.

Frequently asked questions

How much does it cost to install vinyl tile per square foot?

Labor runs $2 to $5 per square foot and the installed total is typically $5 to $10. Labor is 40 to 55 percent of the job.

Is glue-down vinyl tile more expensive to install than click-lock?

Yes, roughly $1 to $1.50 more per square foot in labor, plus adhesive and cure time, plus stricter subfloor preparation. It is worth it in large open rooms and under heavy rolling loads.

Does vinyl tile need underlayment?

Click-lock floating tile usually does, and many products have it attached. Glue-down does not use underlayment at all; it bonds directly to a prepared subfloor.

How long does vinyl tile installation take?

One to two days for a typical room in click-lock, two to three days for glue-down including adhesive cure before furniture returns.

Can vinyl tile go over an existing floor?

Over flat, solid, well-bonded vinyl or tile, often yes, which eliminates the demolition line. Over carpet or over any floor that is loose or uneven, no.

Getting quotes that differ by thousands? Bring them to our Derwood showroom and we will show you which line is doing the damage. Call (301) 939-0009 or book a showroom visit.
Posted on — Leave a comment

Tile Floor Installation Cost Per Square Foot

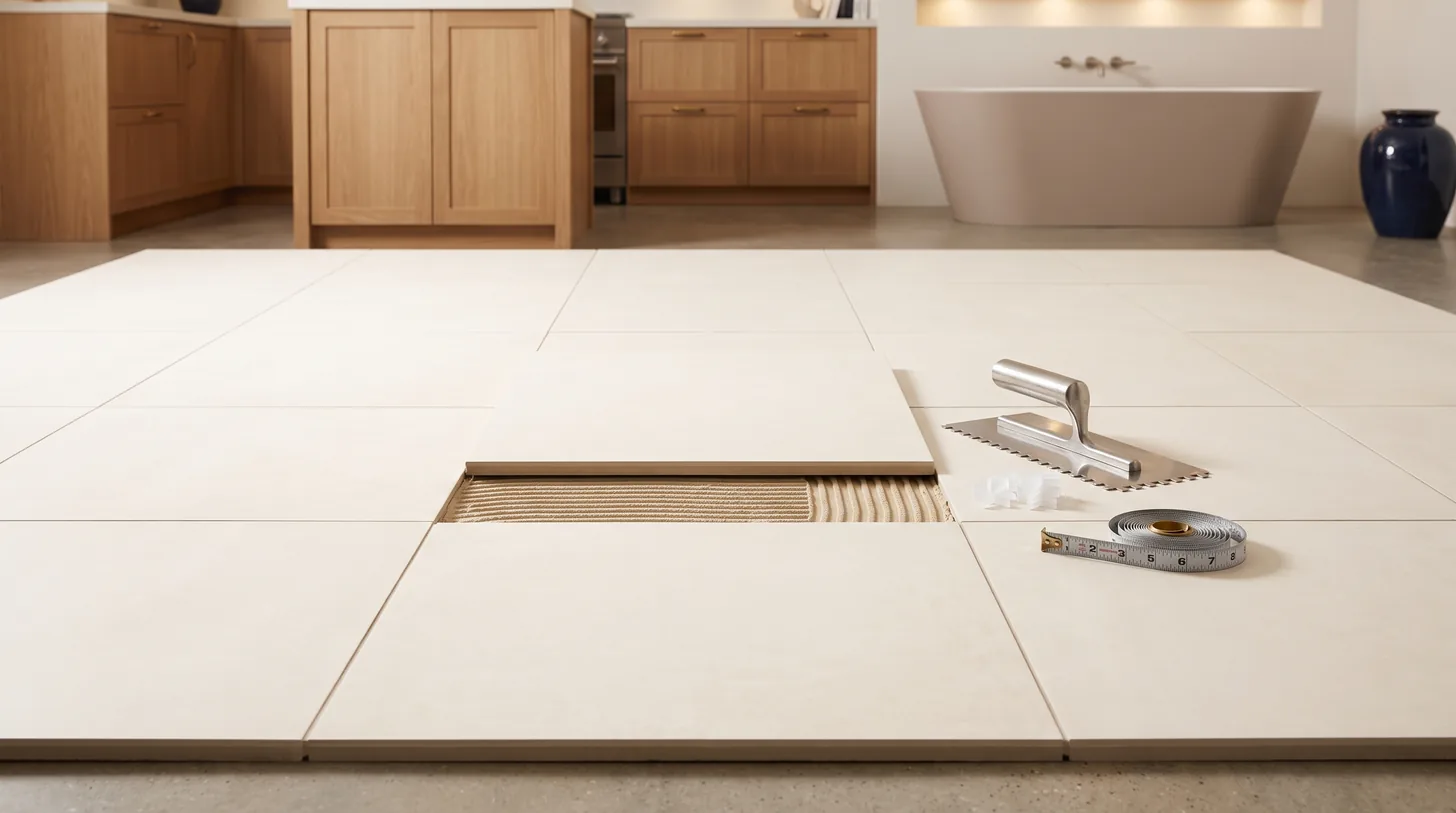
Large format porcelain floor tile grid with trowel

Tile floor installation costs $10 to $25 per square foot installed. Labor is $6 to $15 of that and tile is $2 to $8. Because labor is roughly 60 percent, the layout you choose moves the total more than the tile you choose: a diagonal or herringbone pattern adds 15 to 30 percent to the labor on the same tile.

The breakdown

Line item Per sq ft Notes
Tile $2 to $8 Porcelain, ceramic or stone-look
Thin-set, grout, sealer $0.75 to $2.00 Large-format needs a medium-bed mortar
Backer board or uncoupling membrane $1.50 to $3.50 Not optional over wood subfloors
Demolition and disposal $1.50 to $4.00 Mortared tile is the expensive removal
Installation labor $6 to $15 Driven by tile size and pattern
Transitions and trim $100 to $400 per room Per doorway

In Montgomery County, labor sits in the upper half of that band. Material does not vary much by region.

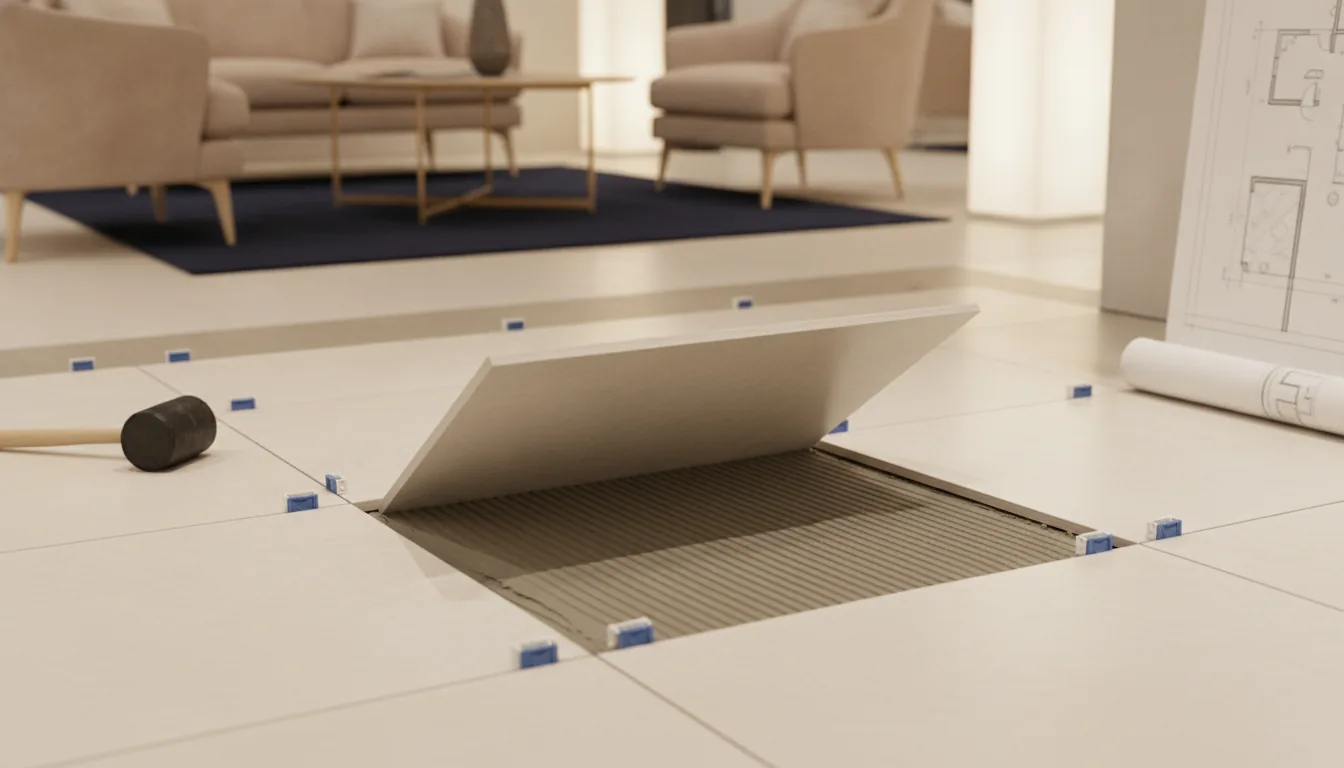
Floor tile lifted showing full thinset coverage

What actually moves the labor

Pattern. A straight grid is the baseline. Offset or brick-set adds a little. Diagonal adds 15 to 20 percent. Herringbone or basketweave adds 25 to 30 percent, because every tile is cut and every cut is a chance to be wrong.

Tile size. Very large tiles need a flatter substrate and often a levelling clip system, which adds labor even though it uses less grout. Very small mosaic uses far more labor per square foot for the opposite reason. The cheapest tile to install sits in the middle, around 12 by 24 inches.

Room shape. A square room with four straight walls is the baseline. Every jog, closet, threshold and toe kick is a set of cuts.

What is underneath. Over a concrete slab you tile directly after prep. Over a wood subfloor you need backer board or an uncoupling membrane, and if the floor deflects you need to address that first or the grout will crack.

Where people overspend and underspend

People overspend on tile and underspend on the substrate. A $9 per square foot tile on a deflecting floor will crack. A $3 tile over a properly prepared floor with an uncoupling membrane will outlast the kitchen it is in.

For the bathroom equivalent see bathroom tile installation and replacement cost, and for the vinyl alternative, vinyl tile installation labor cost.

Frequently asked questions

How much does it cost to install tile floor per square foot?

$10 to $25 per square foot installed. Labor is $6 to $15 of that and the tile itself is usually $2 to $8.

Why is tile labor so expensive?

It is skilled, slow work: substrate preparation, layout, cutting, setting, then grouting as a separate visit. Labor is about 60 percent of the installed price, and pattern and tile size change it substantially.

Does a diagonal tile pattern cost more?

Yes, 15 to 20 percent more labor than a straight grid, and herringbone adds 25 to 30 percent. The tile cost is the same; the cutting and waste are not.

Is large-format tile cheaper to install?

Not necessarily. It uses less grout and covers faster, but it demands a flatter substrate and usually a levelling clip system, which adds back much of the saving.

Do you need backer board under floor tile?

Over a wood subfloor, yes, backer board or an uncoupling membrane. Over a sound concrete slab, no. Skipping it over wood is the most common cause of cracked grout lines.

Want the layout priced before you pick the tile? Bring your room dimensions to our Derwood showroom and we will price the same tile in three patterns. Call (301) 939-0009 or book a showroom visit.

Posted on — Leave a comment

How to Finance a Flooring Installation

Flooring samples and folio on showroom consultation desk

Flooring installation is financed four ways: a retailer promotional plan, an unsecured home improvement loan, a home equity line, or a credit card. For a typical $4,000 to $12,000 flooring job, a 0 percent promotional plan is the cheapest option if you are certain you can clear the balance inside the promotional window, and the most expensive if you cannot, because most of these plans charge deferred interest on the original balance rather than the remaining one.

We are a showroom, not a lender, and we have no stake in which of these you use. What follows is the part that is usually explained quickly at a counter.

The four options compared

Option Typical rate Best for The catch
Retailer 0% promotional 0% for 6 to 24 months, then 25%+ Buyers who will clear it in the window Deferred interest is charged on the original balance
Unsecured home improvement loan 7% to 18% fixed Predictable payments, no home as collateral Rate depends heavily on credit
Home equity line Variable, often lower Large or phased projects Your home is the collateral
Credit card 18% to 29% Small balances cleared fast The default expensive option

Flooring showroom consultation corner with sample racks

The deferred interest trap, specifically

A 0 percent promotional plan usually is not a 0 percent loan. It is a loan whose interest is accruing in the background and waived only if the full balance is cleared by the deadline. Miss it by one month on a $6,000 floor and you can be charged interest on the full $6,000 from day one, not on the few hundred dollars still outstanding.

The safe way to use one: take the total, divide by the number of promotional months, and set that as an automatic payment on day one. If that number does not fit your budget, the promotional plan is not the right product for you, and a fixed-rate loan at 9 percent is genuinely cheaper than a 0 percent plan you will not clear.

Two things worth doing before financing anything

Separate the material from the labor in your quote. If the project is above budget, material is usually where it can flex without compromising the installation. Dropping from a 20 mil to a 12 mil wear layer in a bedroom saves real money. Skipping subfloor preparation to save money is how you pay twice.

Consider phasing instead of borrowing. Flooring is one of the few renovations that divides cleanly by room. Doing the main floor now and the bedrooms next year costs slightly more in total mobilization and considerably less in interest.

For the underlying numbers, see replacing carpet with hardwood, with laminate and carpet vs vinyl plank.

Frequently asked questions

Can you finance flooring installation?

Yes. The common routes are a retailer promotional plan, an unsecured home improvement loan, a home equity line or a credit card. Labor is normally financeable alongside material.

Is 0 percent flooring financing really free?

Only if you clear the balance within the promotional window. Most of these plans use deferred interest, which means that if any balance remains at the deadline, interest is charged on the original amount from the purchase date.

What credit score do you need to finance flooring?

Promotional retail plans typically start around 640 to 680. Unsecured home improvement loans offer their best rates above roughly 720. Below 640 the realistic options narrow to secured borrowing.

Should I use a home equity line for flooring?

It usually carries the lowest rate, but it secures the debt against your home. For a project in the $4,000 to $12,000 range, many people prefer an unsecured loan and accept the higher rate for that reason.

Is it cheaper to do flooring room by room?

In interest, yes, often substantially. In total project cost, slightly more, because each phase repeats mobilization and transitions. For most households the interest saving is larger.

Want the quote broken into material and labor before you decide? That is how we write them at our Derwood showroom. Call (301) 939-0009 or book a showroom visit.

Posted on — Leave a comment

Kitchen Cabinet Installation Labor Cost

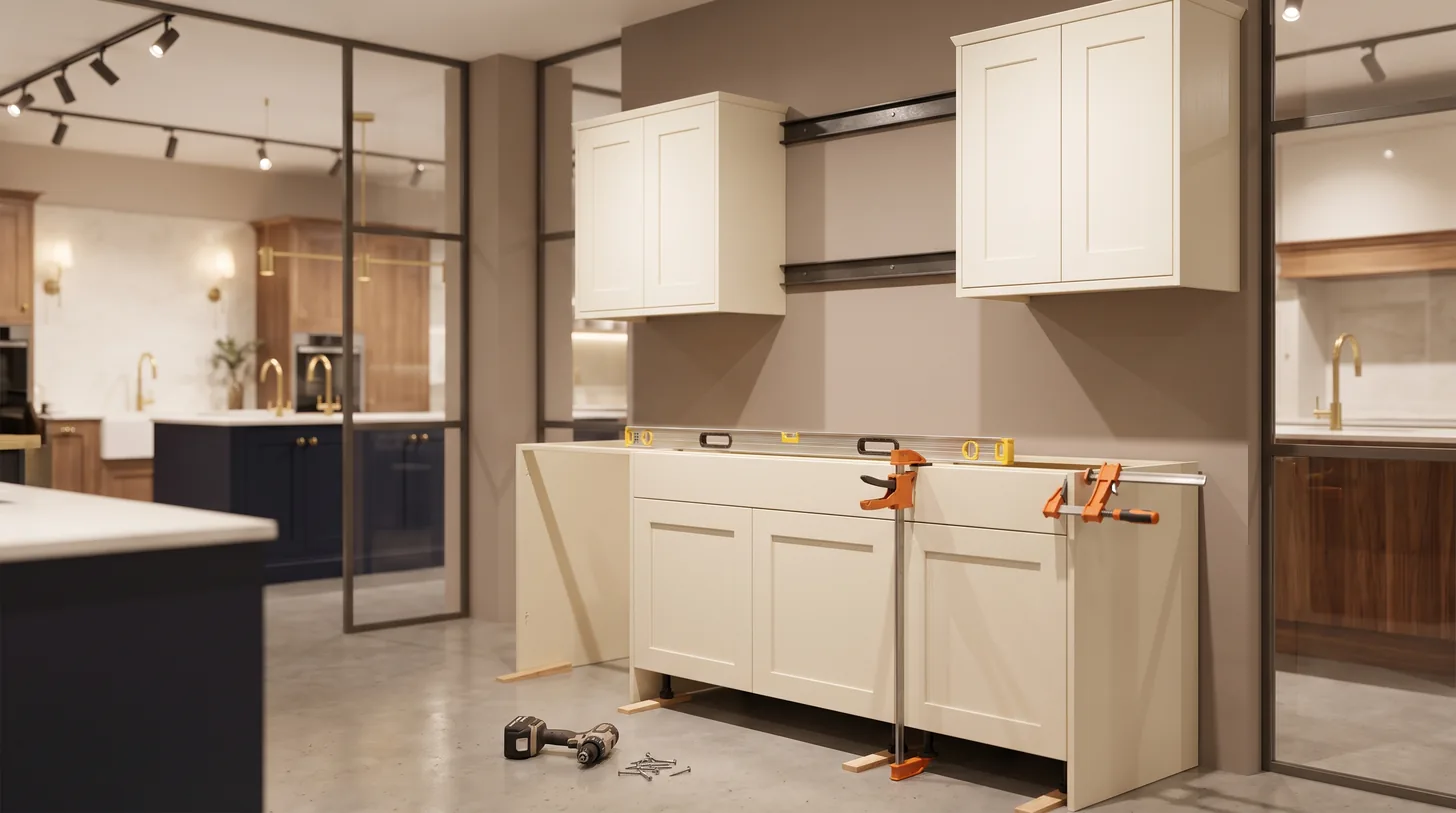
Shaker kitchen cabinets partly installed with level

Kitchen cabinet installation labor costs $100 to $300 per linear foot, or $2,000 to $6,000 for a typical 20 linear foot kitchen. That is 15 to 25 percent of what you spend on the cabinets themselves. The variable that moves it is not the brand or the door style: it is how far out of square and out of level your walls and floors are, because every cabinet has to end up plumb regardless of what it is attached to.

We sell the cabinets at our Derwood showroom and H&C Construction installs them, which means we see the quote and the invoice on the same kitchen.

What the labor includes

Task Share of labor Notes
Layout, levelling and ledger lines 15% Finding the high point of the floor, snapping lines
Hanging upper cabinets 25% Done first, so base cabinets do not obstruct
Setting and joining base cabinets 30% Shimming, clamping, fastening face frames together
Fillers, scribes and panels 15% Where the kitchen meets imperfect walls
Doors, drawers and hardware adjustment 15% Soft-close alignment is slow, fussy work

Countertop templating happens after this and is a separate trade and a separate line.

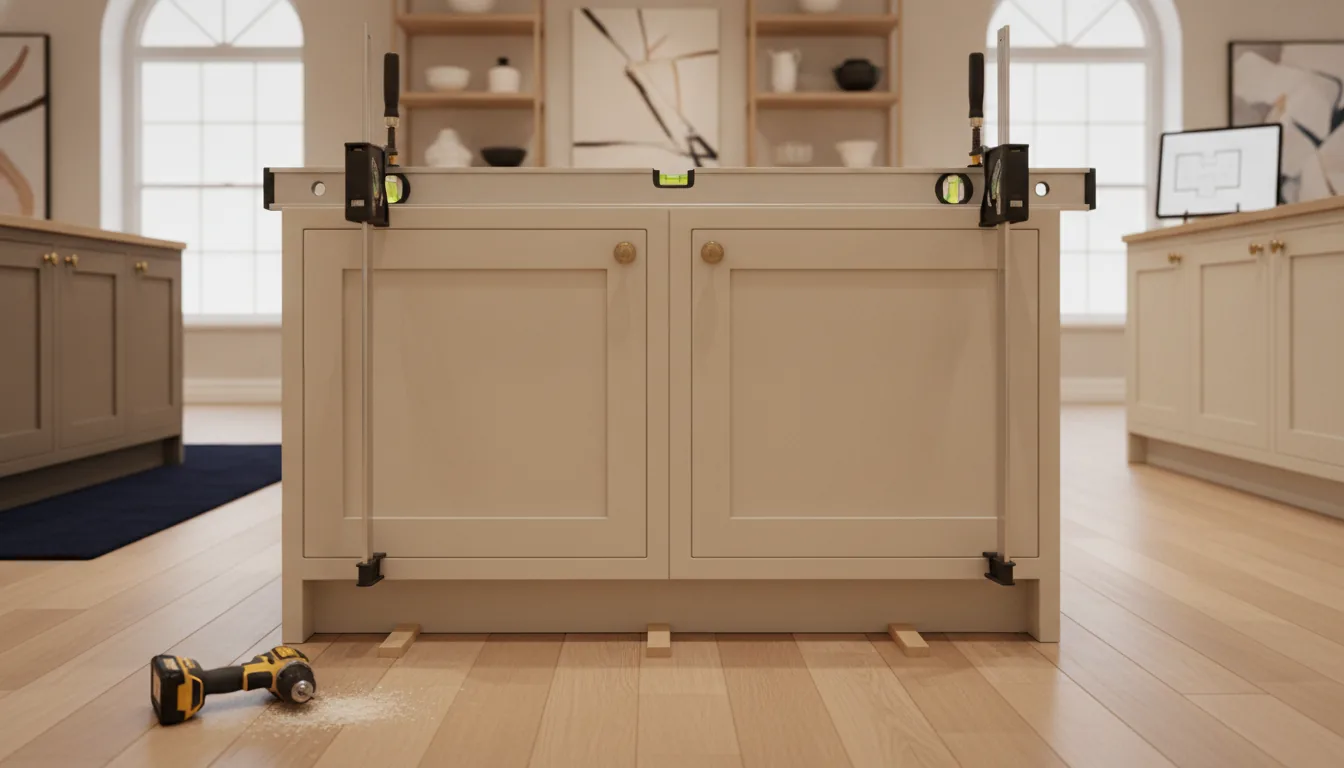
Base cabinets clamped and shimmed at face frame

Why two identical kitchens cost different amounts to install

Out-of-level floors. The installer finds the highest point of the floor and works from it, shimming everything else up to match. A floor that is three-quarters of an inch out across a run turns a one-day install into a two-day install and eats a toe kick.

Out-of-square walls. Corners that are not 90 degrees mean scribing fillers to fit, which is handwork. In older Maryland homes this is normal rather than exceptional.

Stock vs semi-custom. Semi-custom cabinets arrive in sizes that fit your kitchen, so there is less filler. Stock cabinets in 3-inch increments leave gaps that somebody has to resolve on site, and that resolution is labor.

Assembled vs RTA. Ready-to-assemble cabinets add $30 to $75 per box in assembly time, which is rarely included in a quoted installation rate.

The question to ask every bidder

Ask what the quote assumes about the floor and the walls, and what happens if they are out. An installation quote that does not mention levelling is a quote that has not looked at your kitchen. The second question is whether removal and disposal of the old cabinets is included: it is $300 to $800 and it is frequently excluded.

For how this sits in the full cabinet budget see how much kitchen cabinets cost, and for the alternative to replacing them, painting vs refacing.

Frequently asked questions

How much does it cost to install kitchen cabinets?

$100 to $300 per linear foot in labor, or $2,000 to $6,000 for a 20 linear foot kitchen. That is 15 to 25 percent of the cabinet cost.

Is cabinet installation included in the cabinet price?

Rarely. Showrooms and big box stores usually quote cabinets and installation separately, and disposal of the old cabinets is often a third line that is easy to miss.

How long does it take to install kitchen cabinets?

One to two days for a straightforward 20 linear foot kitchen, two to three days where floors are out of level, walls are out of square or there is significant filler and panel work.

Does it cost more to install RTA cabinets?

Yes, $30 to $75 per box in assembly time, which is not usually part of a quoted per-linear-foot installation rate. Ask specifically whether assembly is included.

Do cabinets go in before or after flooring?

It depends on the flooring type, and getting it wrong is expensive. See our breakdown of floors or cabinets first.

Want the install priced before you order? Bring your kitchen dimensions to our Derwood showroom and we will tell you what your floor and walls are likely to add. Call (301) 939-0009 or book a showroom visit.
Posted on — Leave a comment

Painting vs Refacing Kitchen Cabinets: Cost Compared

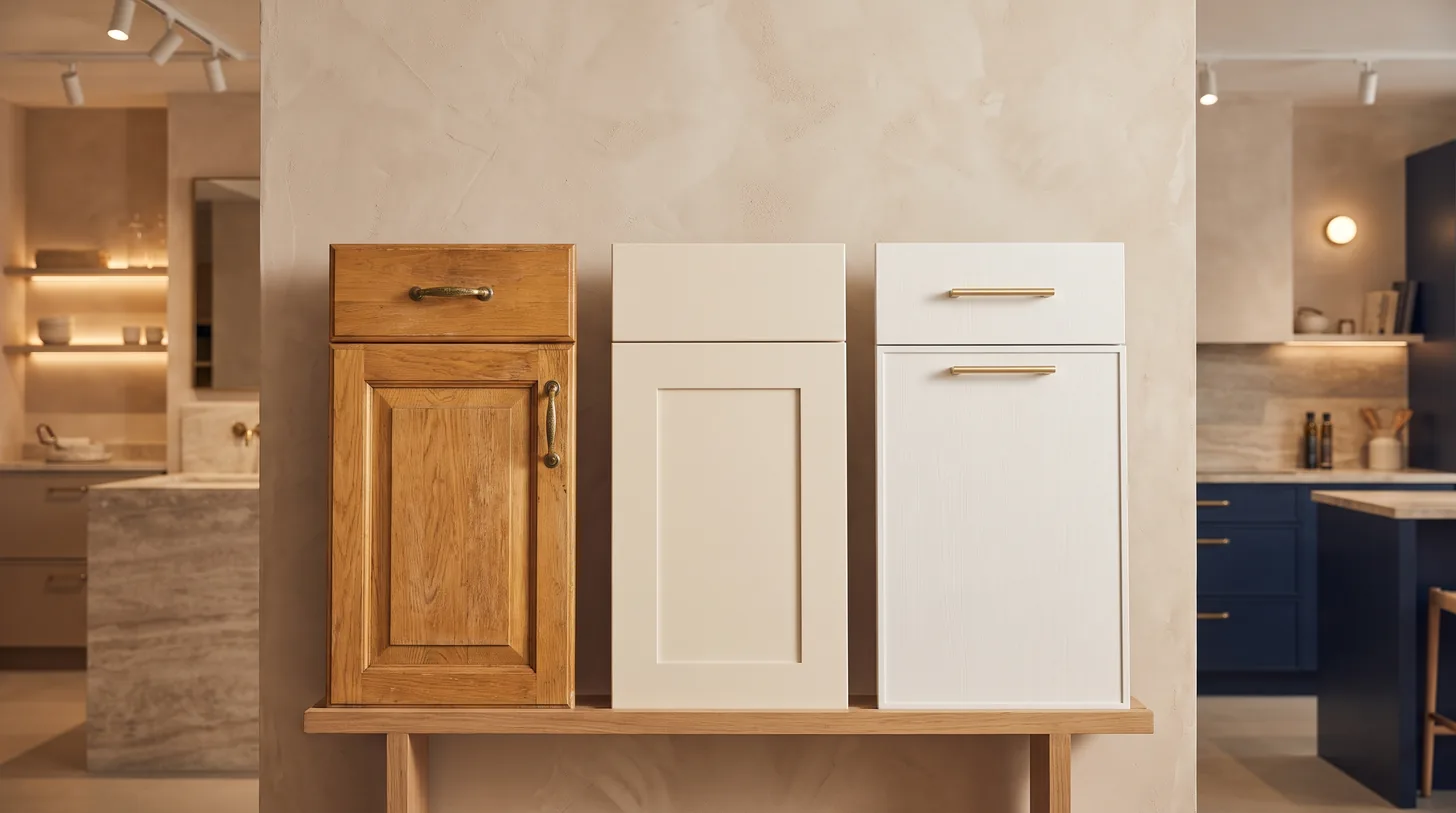
Oak painted and refaced cabinet doors compared

Professionally painting kitchen cabinets costs $3,000 to $8,000. Refacing costs $7,000 to $18,000. Painting keeps your existing doors and changes their colour. Refacing replaces the doors and drawer fronts entirely and puts new veneer on the frames. The decision is not about budget first, it is about whether your doors are worth keeping, and raised-panel oak with a heavy grain is the case where painting almost always disappoints.

What each one costs and does

Painting Refacing
Cost, 20 linear foot kitchen $3,000 to $8,000 $7,000 to $18,000
Doors Kept, repainted Replaced
Boxes Kept, frames painted Kept, frames veneered
Door style change No Yes
Time on site 3 to 7 days 3 to 5 days
Kitchen usable during Partially Mostly
Realistic life 5 to 10 years 15 to 25 years
Hides grain No, grain telegraphs Yes, new material

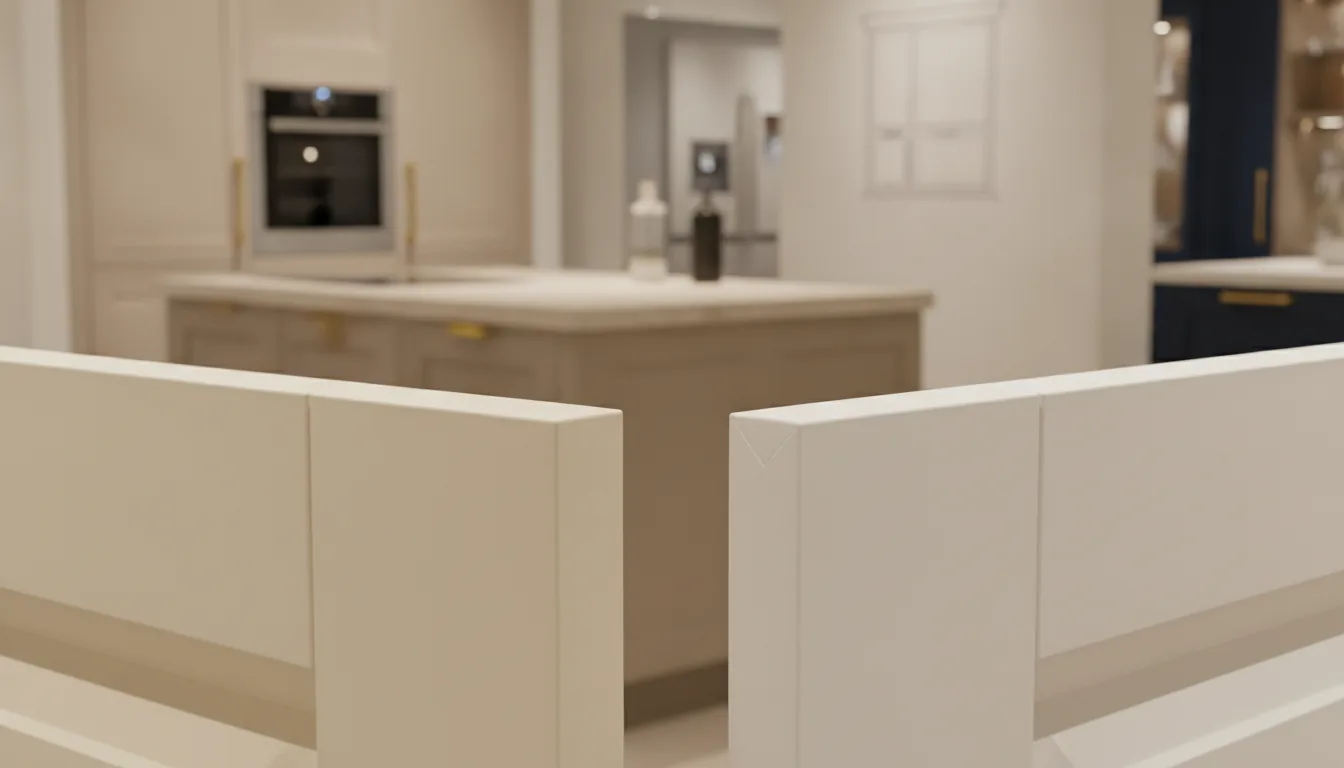
Painted and refaced cabinet door edges closeup

When painting is the right call

Painting works beautifully on smooth or lightly grained doors in sound condition: maple, poplar, MDF shaker, or any flat panel without an aggressive grain. In those cases a sprayed professional finish is close to indistinguishable from a factory one, and it costs less than half of refacing.

It also wins when the kitchen is being sold within a couple of years, or when the layout is changing soon and this is a stopgap.

When painting is a waste of money

Red oak with open grain. Paint sits in the grain and the texture reads through every coat. Filling and sanding it to smooth costs more labor than the doors are worth.

Thermofoil or laminate doors. Paint does not bond reliably, and peeling thermofoil is a symptom of a door that is already failing.

Doors that are sagging, swollen at the bottom, or delaminating. Painting a failing door buys a year.

In all three cases refacing is the honest answer, and if the boxes themselves are soft at the sink base, replacement is. See cabinet refacing vs replacing for that line.

The part nobody quotes

Both jobs assume your boxes are sound. Open the cabinet under your sink and press the bottom panel. If it has any give, if the particleboard has swollen, or if there is staining at the back corners, no finish treatment solves that. You are looking at replacement, and money spent on paint or veneer over a failing box is money spent twice.

Frequently asked questions

Is it cheaper to paint or reface kitchen cabinets?

Painting, by roughly half: $3,000 to $8,000 against $7,000 to $18,000 for a typical 20 linear foot kitchen. Painting keeps the existing doors; refacing replaces them.

How long does painted cabinetry last?

Five to ten years before high-touch areas around handles and the sink show wear. A sprayed professional finish lasts considerably longer than a brushed one.

Can you paint oak cabinets?

You can, but open-grain red oak telegraphs its grain through paint. Getting a smooth result requires grain filling and extra sanding, which erodes the cost advantage over refacing.

Does refacing change the door style?

Yes, that is the main thing it buys over painting. You choose new doors and drawer fronts, so a dated raised panel can become a flat shaker.

Is painting cabinets worth it before selling?

Usually yes, in a kitchen whose doors are smooth and sound. It is the cheapest change that reads as a renovation in listing photos.

Not sure which your doors are? Send us a close photo of a door edge and the inside of your sink base, or bring one to our Derwood showroom. We will tell you straight. Call (301) 939-0009 or book a showroom visit.
Posted on — Leave a comment

Bathroom Tile Installation and Replacement Cost

Bathroom tile options porcelain stone marble mosaic subway

Bathroom tile installation costs $15 to $30 per square foot. Replacing existing tile adds $3 to $8 per square foot for demolition and disposal. Labor is about 65 percent of the total, the highest ratio of any tiled surface in a house, because a bathroom is small, full of corners and fixtures, and has to be waterproof.

A 40 square foot bathroom floor runs $600 to $1,200. A tub surround runs $1,200 to $2,500. A full shower enclosure runs $2,500 to $6,000.

Why bathroom tile costs more per foot than floor tile

Factor Kitchen or living floor Bathroom
Labor share About 60% About 65%
Cuts per square foot Low High: toilet flange, vanity, threshold, niche
Waterproofing None required Membrane required in wet areas
Working room Open Cramped, which slows everything
Substrate Often ready Backer board or membrane needed

The small room is the expensive room. A 40 square foot bathroom and a 40 square foot section of hallway are not comparable work. The bathroom has a toilet to cut around, a vanity to scribe to, a threshold, and often a tub edge, and every one of those is handwork.

Large format wall tile being set with levelling clips

What replacement adds

Demolition type Per sq ft Notes
Tile over backer board $3 to $5 Comes out in sheets, relatively clean
Tile over mortar bed $5 to $8 Heavy, slow, and loud
Tile over drywall in a wet area $3 to $6 Expect to replace substrate too

Budget for a surprise. Old bathroom tile frequently hides a substrate that should not be reused, and discovering soft backer board behind a tub surround mid-demolition is the most common change order in this job.

Where to spend and where not to

Spend on the waterproofing system. A sheet or liquid membrane adds $400 to $900 over the older method and is the difference between a shower that lasts and one that rots quietly.

Do not overspend on floor tile in a small bathroom. At 40 square feet the difference between a $4 and a $9 tile is $200 on a job that costs thousands. Put the money into the wet wall where it is seen and where it works.

For the shower-specific numbers see walk-in shower remodel cost and shower pan installation cost.

Frequently asked questions

How much does bathroom tile installation cost?

$15 to $30 per square foot installed. A 40 square foot floor is $600 to $1,200, a tub surround $1,200 to $2,500 and a full shower $2,500 to $6,000.

How much does it cost to replace bathroom tile?

Add $3 to $8 per square foot to the installation cost for demolition and disposal, depending on what the old tile was set over. Mortar beds are the expensive removal.

Why is bathroom tile more expensive than floor tile elsewhere?

More cuts per square foot, less room to work, and mandatory waterproofing in wet areas. Labor is about 65 percent of the job instead of 60.

Can you tile over existing bathroom tile?

On a floor, sometimes, if it is sound, flat and the height change is manageable. In a shower, no. You cannot verify or repair the waterproofing underneath, which is the whole point of the assembly.

How long does it take to tile a bathroom?

Three to five days for a floor and a tub surround, five to eight for a full shower enclosure, including setting, curing and grouting as separate stages.

Want the demolition risk priced before you commit? Bring photos of your current tile to our Derwood showroom and we will tell you what is likely behind it. Call (301) 939-0009 or book a showroom visit.
Posted on — Leave a comment

Is Remodeling a Bathroom Before Selling Worth It?

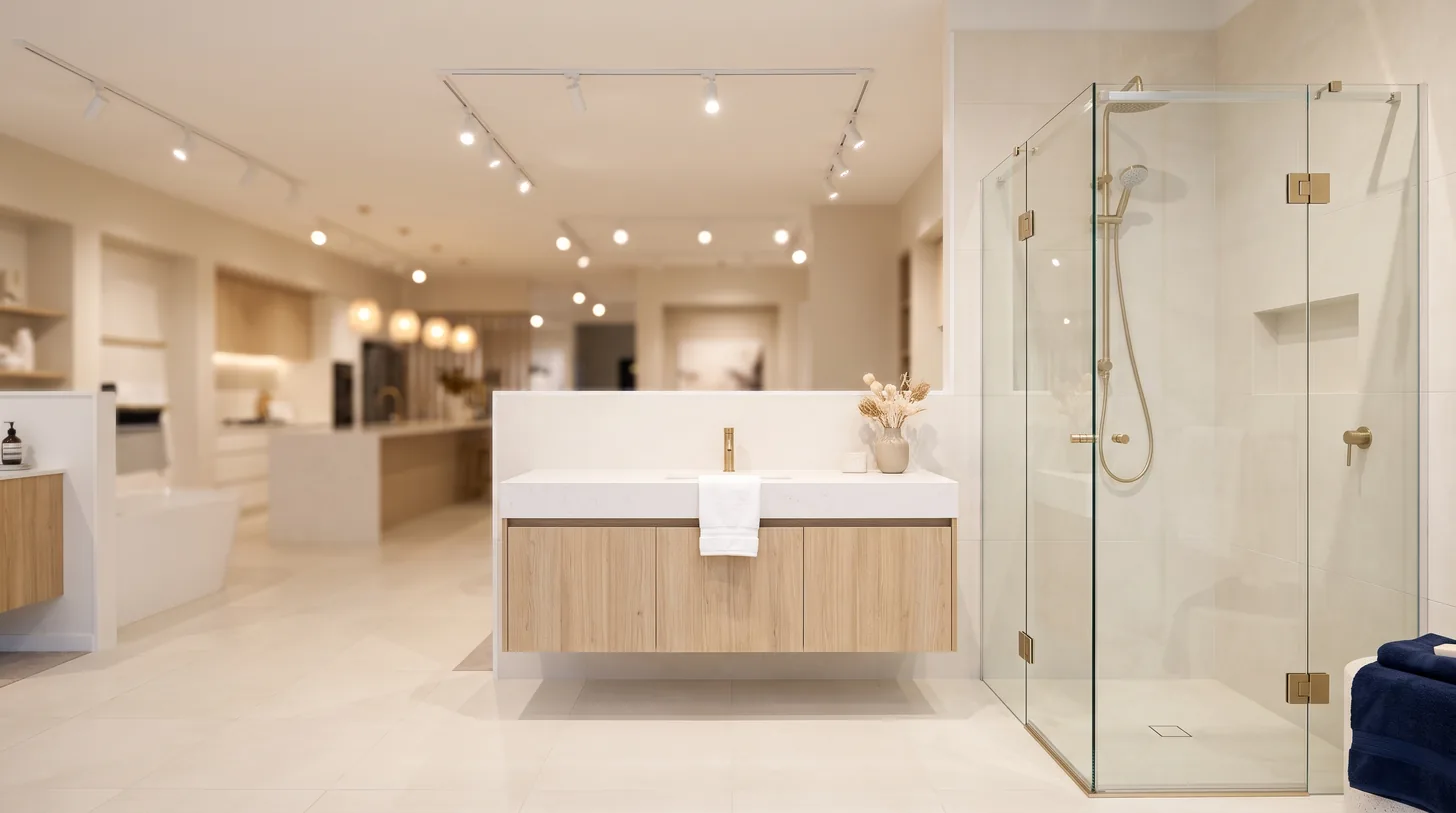
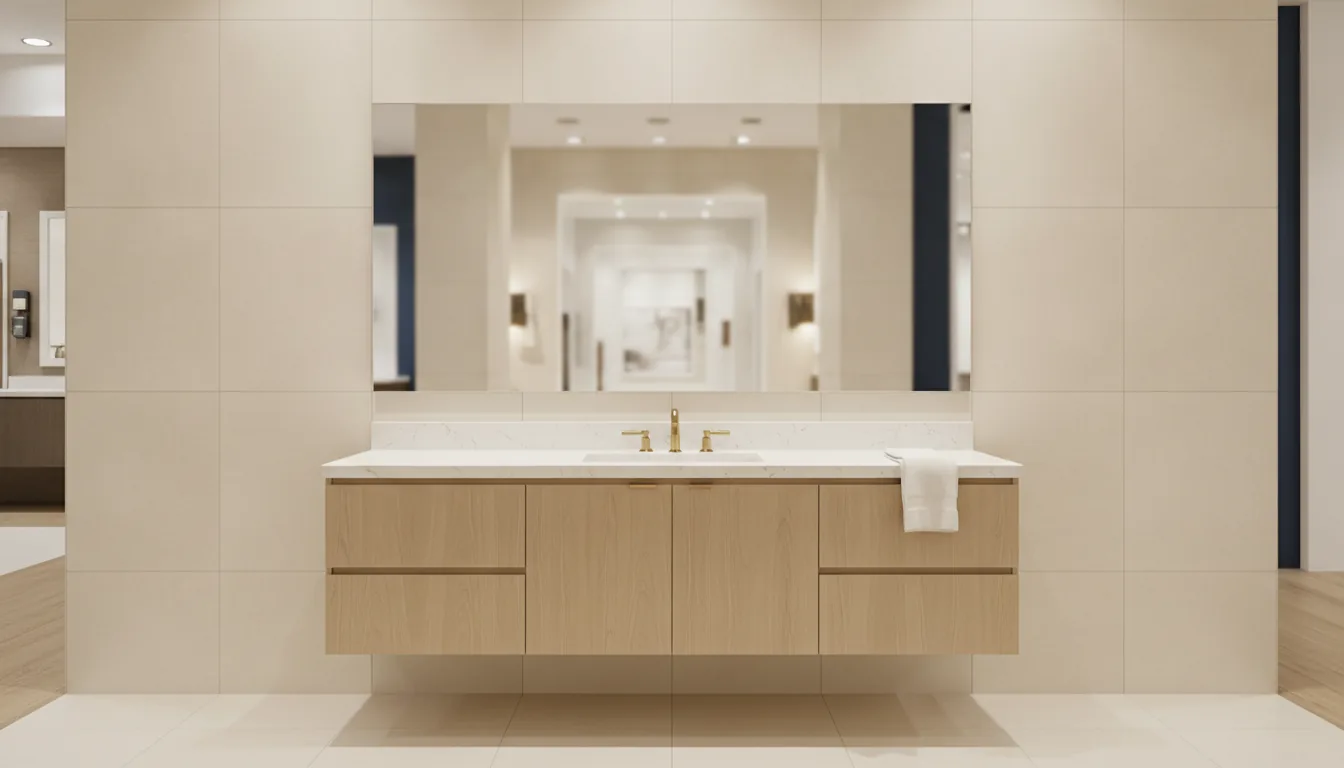
Neutral staged bathroom with floating oak vanity

A full bathroom remodel returns roughly 55 to 70 percent of its cost at resale. A targeted refresh costing $2,000 to $4,000 frequently returns more than 100 percent, because it removes the buyer’s objection without paying for the parts of a renovation buyers never price. If you are selling within a year, the small job is almost always the better financial decision.

We make more money on the big job. We still tell sellers to do the small one, because a dated bathroom costs you a price negotiation and a renovated one rarely wins you a bidding war.

What each level costs and returns

Level Cost Typical recovery What it changes
Cosmetic refresh $2,000 to $4,000 90% to 120% Vanity, mirror, fixtures, paint, lighting, re-grout
Mid-range remodel $12,000 to $22,000 60% to 75% The above plus tile, tub or shower, flooring
Full gut, layout change $25,000+ 45% to 60% Moving plumbing, walls, windows

The pattern is consistent: recovery falls as spend rises. The first few thousand dollars remove objections. Everything after that is buying taste that the next owner did not choose.

Bright neutral bathroom staged for listing

What buyers actually react to

In order, from what we see and what agents report:

Smell and grout. A bathroom that reads as unclean costs more in perceived value than any fixture. Re-grouting and replacing failed silicone is a few hundred dollars and it changes the room.

The vanity and the mirror. The largest visual object and the one most likely to be dated. A new vanity and mirror is $800 to $2,500 installed and does more for a listing photo than anything else at that price.

Lighting. A single builder-grade bar fixture over a mirror dates a bathroom instantly. Replacing it is a couple of hundred dollars.

Whether there is a tub in the house at all. This one is binary, not cosmetic. If you are considering converting your only tub to a shower before selling, do not.

When the full remodel is justified

Three cases. When the bathroom is non-functional — a shower that leaks into the ceiling below is not a cosmetic problem and will be found at inspection. When the house is otherwise renovated and the bathroom is the one room that contradicts the price you are asking. When you are staying three or more years, at which point you are buying your own use, not a return, and the ROI question stops applying.

Frequently asked questions

Is it worth remodeling a bathroom before selling?

A targeted $2,000 to $4,000 refresh usually returns more than it costs. A full $12,000 to $22,000 remodel typically returns 60 to 75 percent. Before a sale, the smaller job is the better financial decision.

What is the ROI on a bathroom remodel?

Roughly 55 to 70 percent for a mid-range remodel and 45 to 60 percent for a full gut with layout changes. Cosmetic refreshes are the only tier that routinely exceeds 100 percent.

What should I fix in a bathroom before selling?

Grout and silicone first, then the vanity and mirror, then the lighting. Those three cover most of what buyers react to, at a fraction of a renovation.

Does a new bathroom help a house sell faster?

It helps it sell without a price concession, which is usually the real benefit. It rarely creates competition on its own the way a kitchen can.

Should I remove the only bathtub before selling?

No. Buyers with young children screen for at least one tub. Converting a secondary bathroom is fine; converting the only one narrows your buyer pool.

Selling and not sure where to stop? Bring photos to our Derwood showroom and we will tell you which items are worth doing and which are not. Call (301) 939-0009 or book a showroom visit.
Posted on — Leave a comment

Floors or Cabinets First in a Kitchen Remodel?

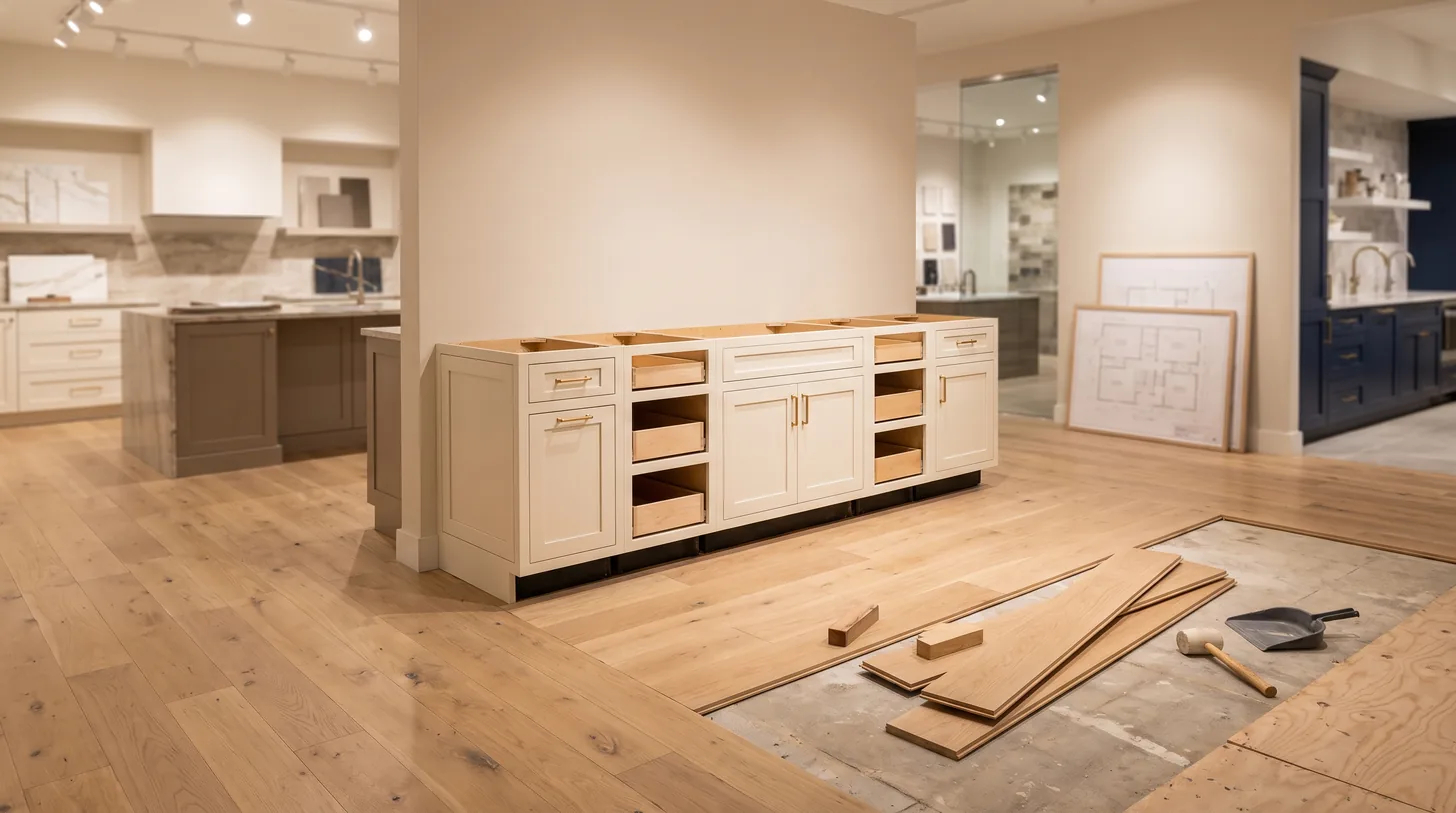
Oak flooring stopping at kitchen cabinet toe kick

It depends on the flooring. Tile and nail-down hardwood go in first, running under the cabinets. Floating floors, meaning laminate and click-lock luxury vinyl plank, go in after the cabinets and stop at the toe kick. Getting this backwards costs $800 to $3,000 to correct, and the mistake is not symmetrical: installing a floating floor under cabinets is the one that actually damages the floor.

We sell the cabinets and the flooring from the same Derwood showroom and H&C Construction installs both, which is why we see this error when somebody else sequenced the job.

The rule, by flooring type

Flooring Order Why
Ceramic or porcelain tile Floor first, under cabinets Rigid, bonded, does not move. Also protects against dishwasher leaks
Nail-down solid hardwood Floor first, under cabinets Fastened down, cannot expand under load
Glue-down LVT or vinyl Floor first, under cabinets Bonded, does not move
Floating laminate Cabinets first, stop at toe kick Must expand and contract freely
Click-lock LVP Cabinets first, stop at toe kick Same: weight on a floating floor pins it

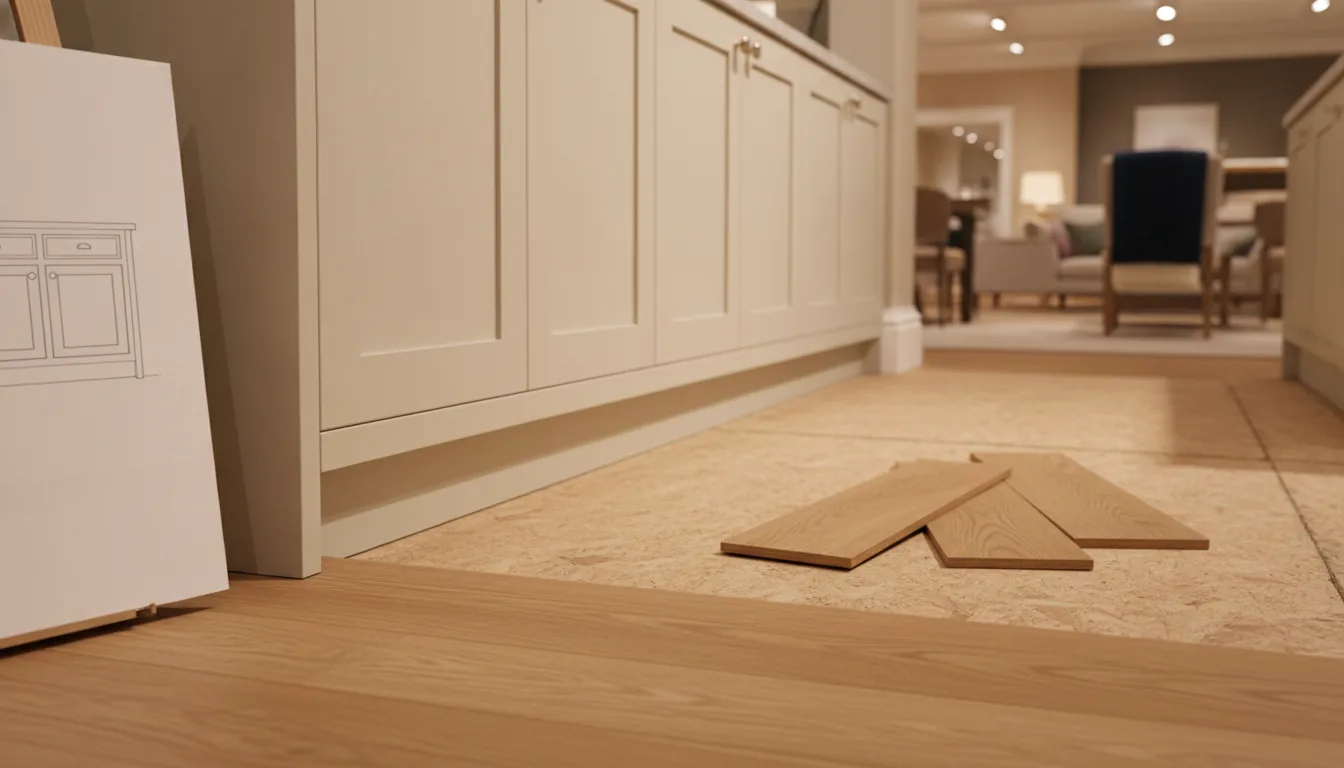
Flooring meeting cabinet toe kick with bare subfloor

Why a floating floor must not go under cabinets

A floating floor is not fastened to anything. It expands and contracts as a single sheet with the seasons, which is why it needs a quarter-inch expansion gap at every wall. Set two tons of cabinetry and stone countertop on top of it and you have pinned it in place. The floor still wants to move, and because it cannot, the joints lift, buckle or separate somewhere in the middle of the room.

This failure appears six months to two years later and it is not repairable without removing the cabinets.

Why tile and hardwood go underneath

Three reasons. Dishwasher height: a dishwasher sits on the finished floor, and if the floor stops at the cabinet line, the dishwasher sits lower than the counter opening and may not fit or may not come out again without damage. Leak protection: a dishwasher or sink leak that reaches a bare subfloor under the cabinets is a far worse problem. Future changes: a continuous floor lets you change the layout later without a patch line.

What it costs to correct

Mistake Correction cost
Floating floor installed under cabinets $1,500 to $3,000 and removing the cabinets
Tile stopped at the cabinet line, dishwasher does not fit $800 to $1,800 to build up or re-tile the bay
Hardwood stopped at the line, later layout change $600 to $1,500 in patching and blending

For the related question see do you lay flooring before installing cabinets covered here, and for the install labor, cabinet installation labor cost.

Frequently asked questions

Should flooring go under kitchen cabinets?

Tile, nail-down hardwood and glue-down vinyl should run under the cabinets. Floating floors such as laminate and click-lock LVP should not, because the cabinet weight prevents the expansion they require.

What comes first in a kitchen remodel, floors or cabinets?

Floors first if you are installing tile or nail-down hardwood. Cabinets first if you are installing a floating laminate or click-lock vinyl floor.

What happens if you install cabinets on a floating floor?

The floor is pinned and cannot expand, so the joints buckle, lift or separate, usually six months to two years later. The repair requires removing the cabinets.

Does flooring under cabinets waste money?

It costs more in material, typically 10 to 15 percent extra for a kitchen, and it buys correct dishwasher height, leak protection and the ability to change the layout later. For tile and hardwood it is the standard practice for good reason.

Where should a floating floor stop?

At the toe kick, with the expansion gap left intact and covered by the toe kick itself or by shoe moulding. It should never run beneath the cabinet boxes.

Sequencing a kitchen? Decide the flooring type before the cabinets are ordered, not after. Bring both choices to our Derwood showroom and we will order them in the right sequence. Call (301) 939-0009 or book a showroom visit.
Posted on — Leave a comment

The Bathroom Remodel Process: What Comes First

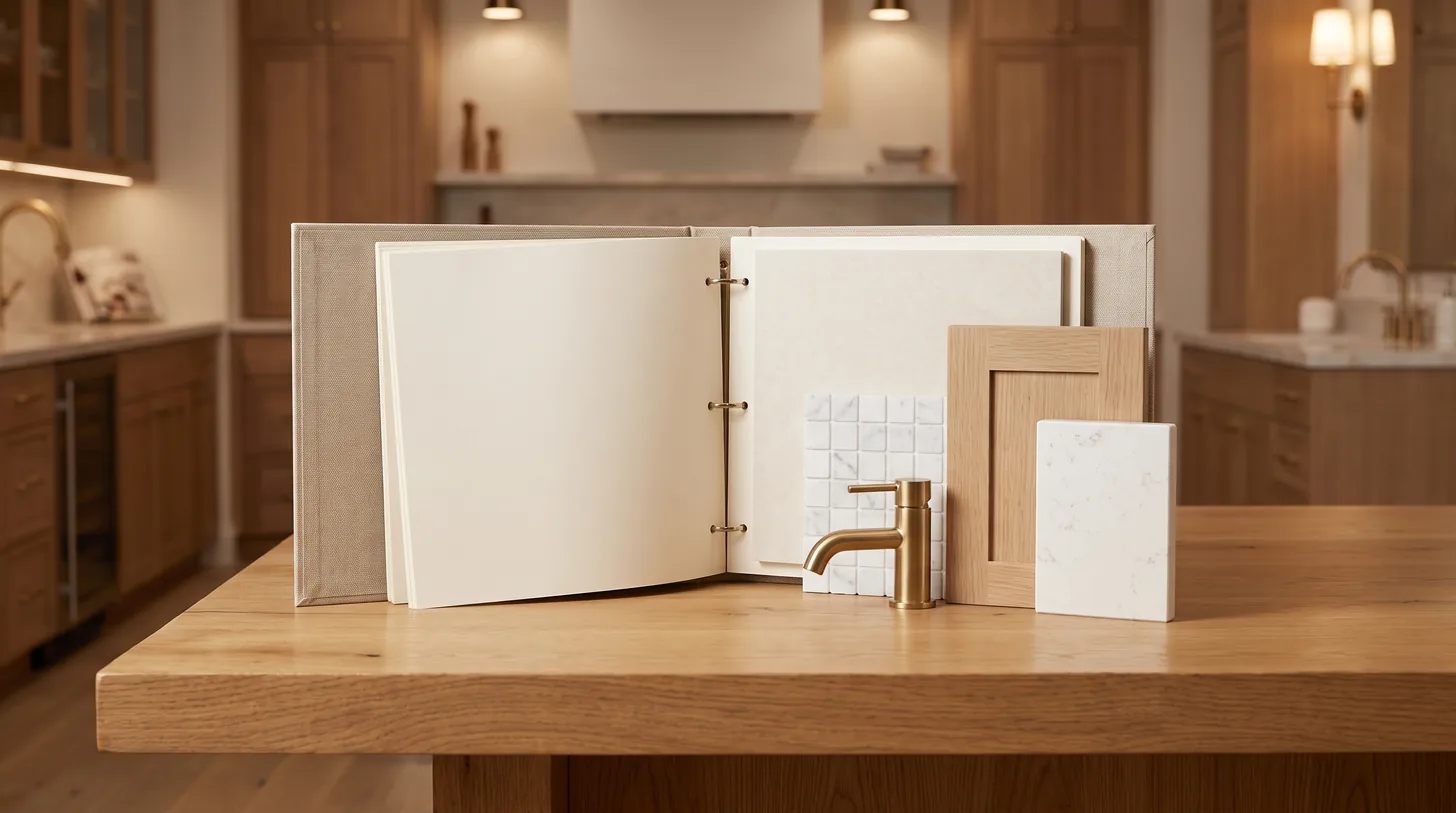
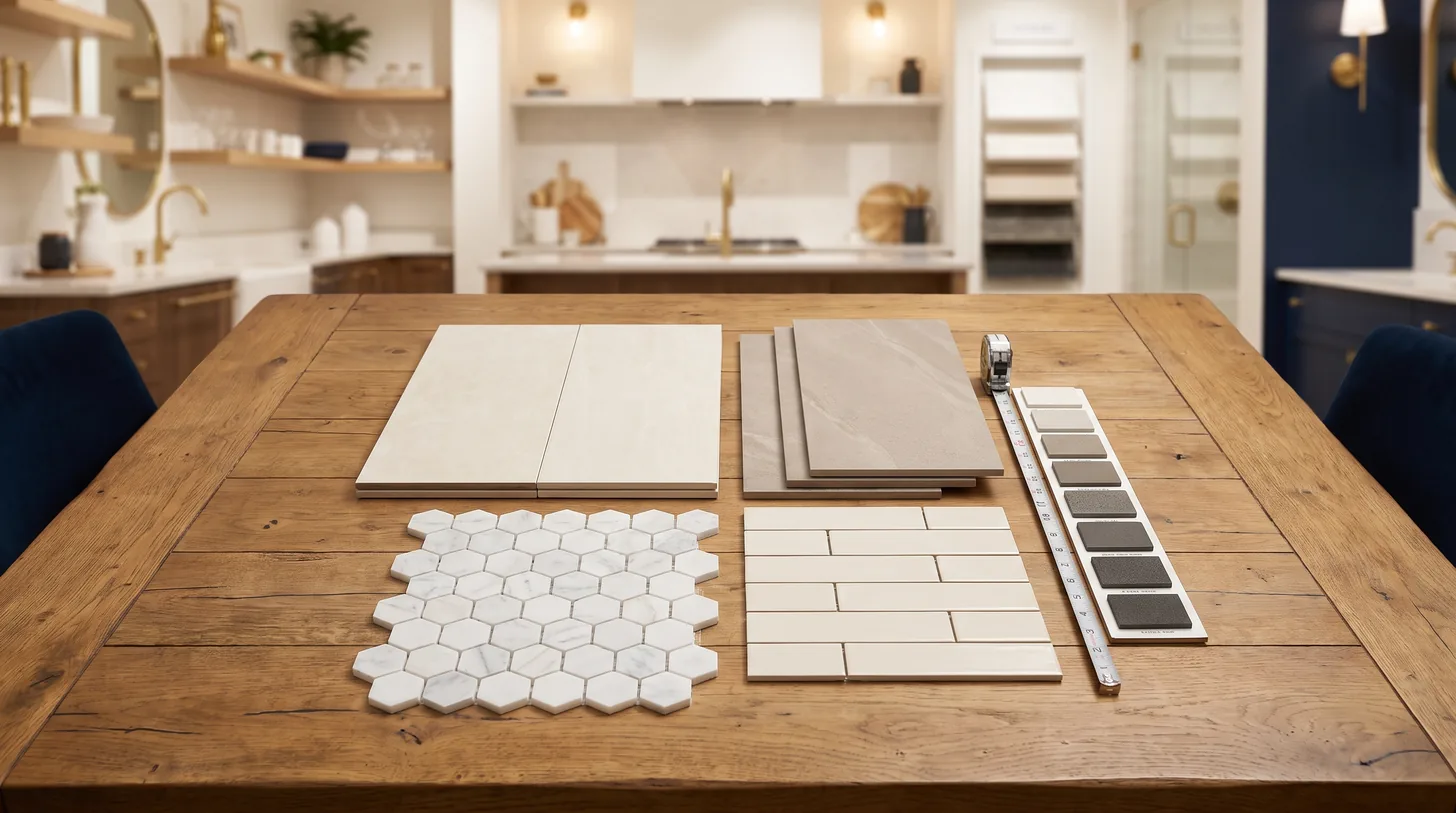
Bath project binder with material selections in sequence

A bathroom remodel runs in nine stages and takes two to four weeks on site. The order is demolition, rough plumbing, rough electrical, inspection, substrate and waterproofing, tile, fixtures and vanity, glass, then paint and trim. Nothing in that sequence can be reordered, and the two things that actually control your schedule are both decided before anybody swings a hammer: whether the plumbing moves, and whether your materials arrived.

The nine stages

# Stage Days Notes
1 Demolition and disposal 1 to 2 Where surprises surface
2 Rough plumbing 1 to 2 Longer if anything moves
3 Rough electrical and ventilation 1 Fan, lighting, GFCI circuits
4 Inspection 1 to 5 Calendar time, not work time
5 Backer board and waterproofing 1 to 2 The stage nobody sees and everything depends on
6 Tile setting and grouting 3 to 6 Cure time between setting and grouting
7 Vanity, toilet, fixtures 1 to 2 Finish plumbing
8 Shower glass 1 Templated after tile, so it arrives 1 to 2 weeks later
9 Paint, trim, final 1 to 2 Punch list

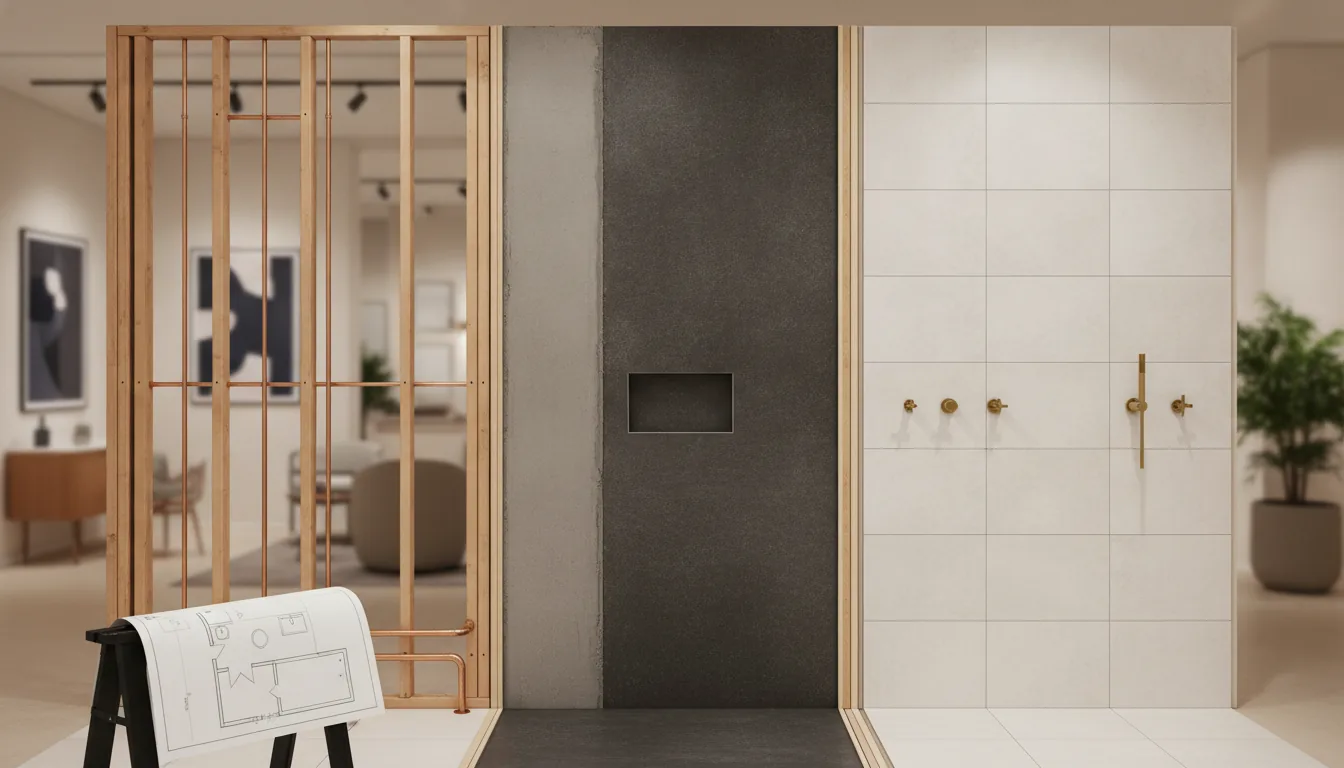
Bathroom build stages framing membrane finished tile

The two decisions that set the schedule

Does the plumbing move? Keeping the drain and the valve where they are is a two-day rough-in. Relocating a toilet or moving the shower to a different wall means opening the floor, re-routing drain lines to maintain fall, and a more involved inspection. That single decision is worth one to two weeks.

Did the materials arrive? Tile that is backordered stops the job at stage six with everything demolished. Glass is templated after tile is set, so there is always a one to two week gap near the end that cannot be compressed. Order everything before demolition and confirm it is physically in a warehouse, not merely ordered.

Where the schedule usually slips

The inspection. It is calendar time you do not control. In Montgomery County, build it into the plan rather than treating it as a surprise.

The waterproofing stage being rushed. Membranes have cure times. A crew pushed to tile the same day they waterproof is a crew creating a future failure, and this is the one stage where being behind schedule is better than being on it.

Grout and silicone at the end. Grout needs to cure before silicone goes in at the changes of plane, and silicone needs to cure before water hits it. The last three days of a bathroom look like nothing is happening. Something is.

For the cost side see walk-in shower remodel cost and bathroom tile installation and replacement cost.

Frequently asked questions

What comes first in a bathroom remodel?

Demolition, then rough plumbing, then rough electrical, then inspection, then waterproofing, then tile, then fixtures, then glass, then paint and trim. The order cannot be rearranged.

How long does a bathroom remodel take?

Two to four weeks on site for a standard bathroom. Moving plumbing adds one to two weeks. Shower glass adds a one to two week wait because it is templated after the tile is set.

Does tile go in before the vanity?

Yes. Tile the floor and walls first, then set the vanity and fixtures. Tiling under the vanity also makes a future vanity change straightforward.

When is the inspection in a bathroom remodel?

After rough plumbing and rough electrical and before anything is covered. If the walls close before inspection, they come back open.

Can you use the bathroom during the remodel?

No, from demolition until the fixtures are set, which is most of the project. In a one-bathroom house this is the single biggest practical consideration.

Planning the sequence? Bring your material list to our Derwood showroom and we will tell you what has to be ordered before demolition. Call (301) 939-0009 or book a showroom visit.
Posted on — Leave a comment

Do You Need a Permit for a Kitchen Remodel?

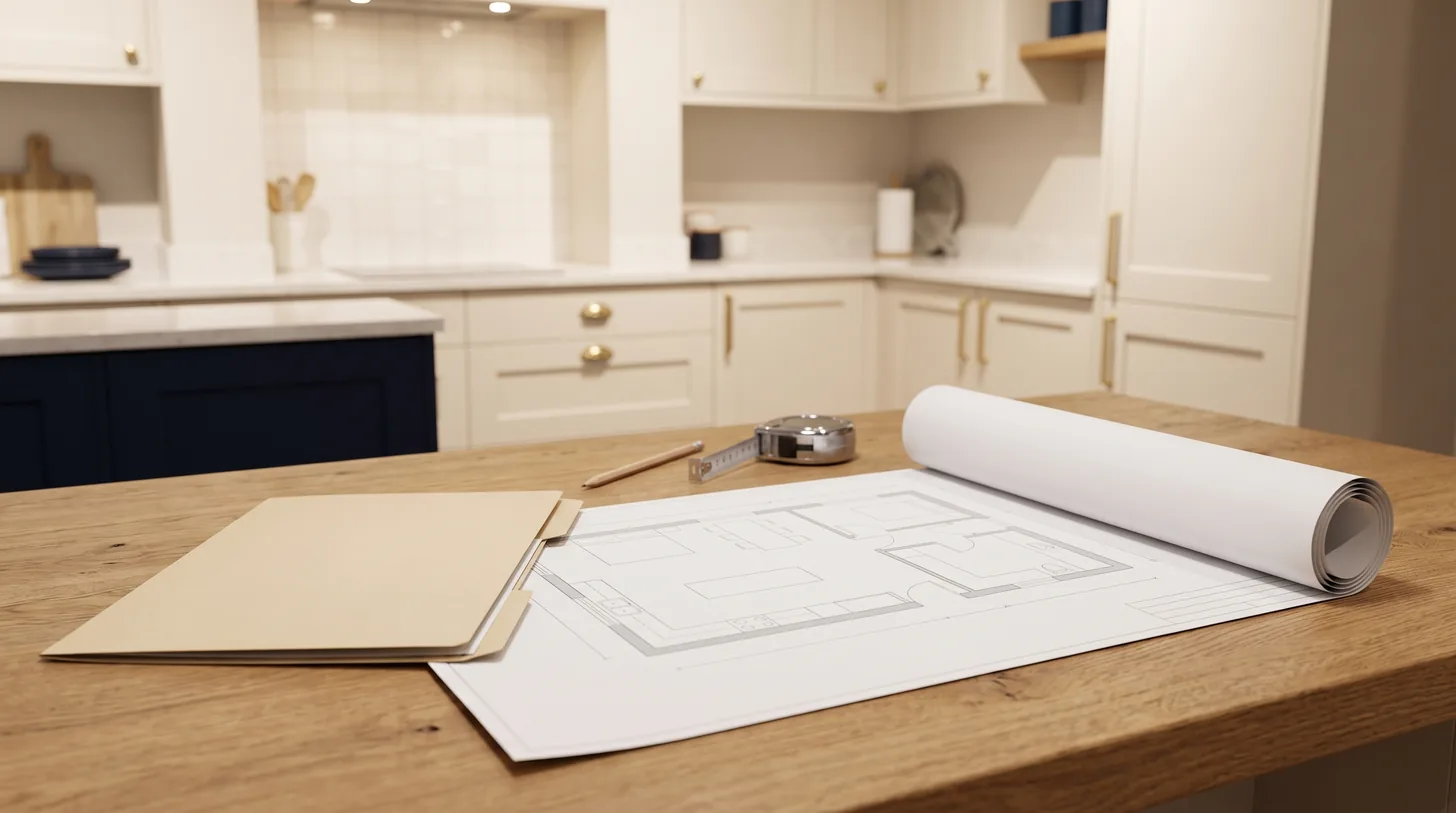
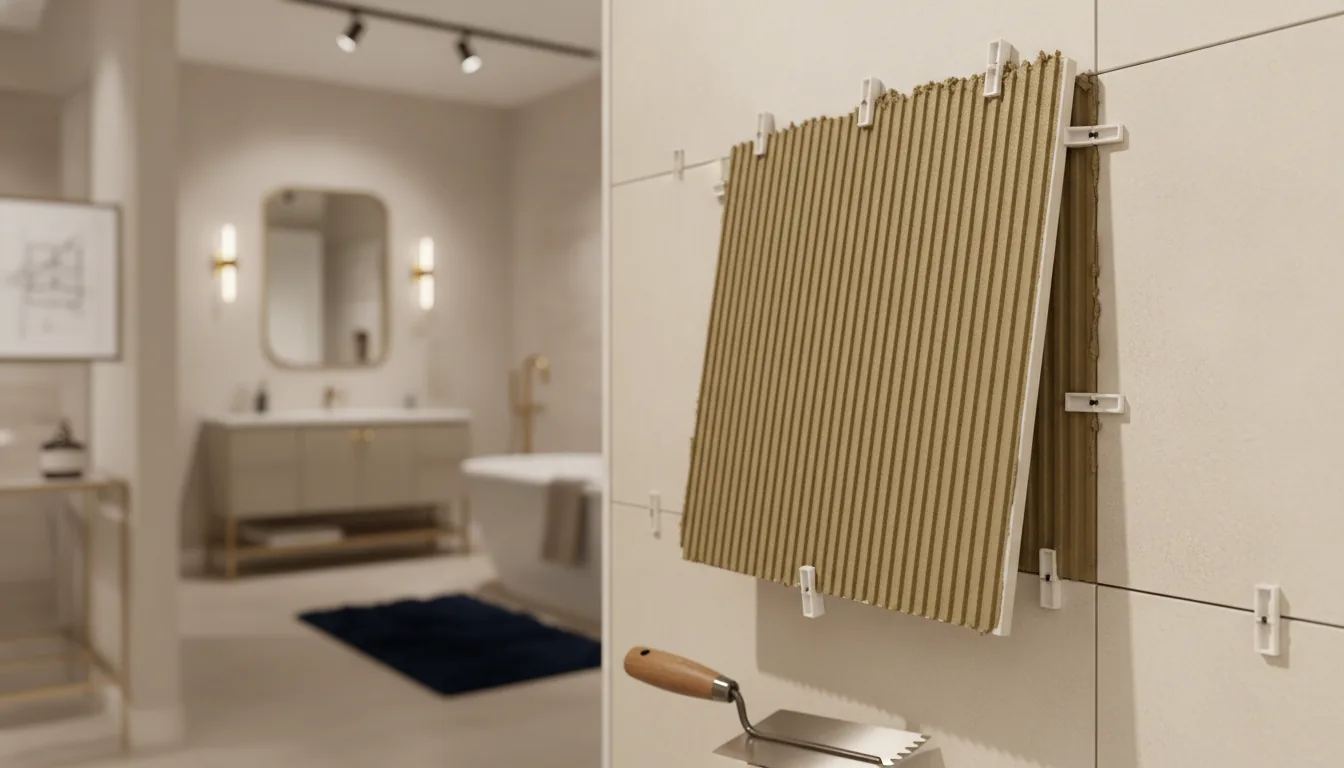
Kitchen floor plan on white paper with folder and tape

You need a permit for a kitchen remodel if you move plumbing, add or alter electrical circuits, remove or alter a wall, or change a window or door opening. You do not need one to replace cabinets, countertops, flooring, a sink in the same location, appliances or paint. The simple test is whether anything inside the walls changes. Rules are set locally, so confirm with your own jurisdiction before relying on any general answer, including this one.

We are a showroom whose sister company H&C Construction pulls these permits in Maryland. What follows is the general shape, not legal advice for your address.

The usual dividing line

Work Permit typically required
Replacing cabinets in the same layout No
New countertops, backsplash, flooring No
Replacing a sink in the same location No
Swapping appliances like for like No
Painting, lighting fixture swap on an existing circuit No
Moving the sink, dishwasher or gas line Yes
Adding circuits, outlets or a subpanel Yes
Removing or altering any wall Yes, and engineering if load-bearing
New or enlarged window or door opening Yes
Adding a range hood vented outside Usually yes

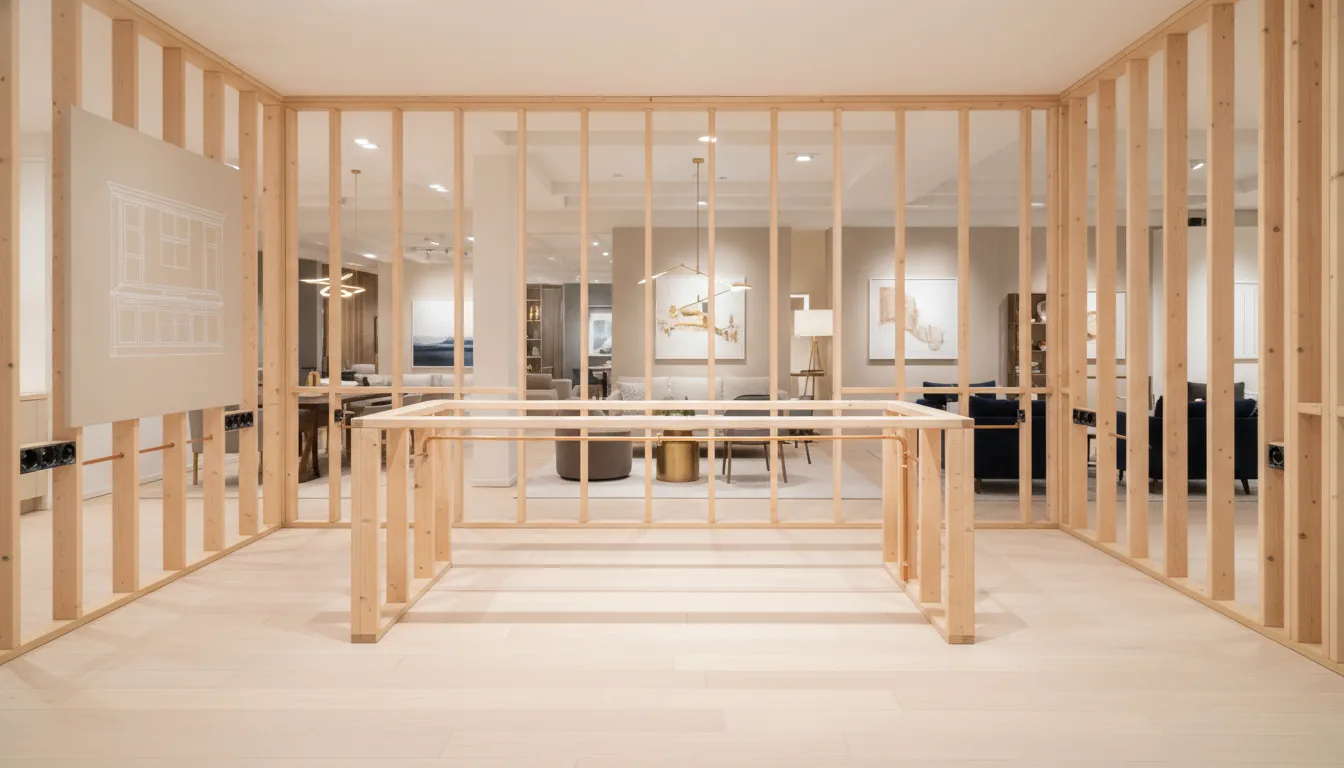
Kitchen stud framing with copper lines and outlet boxes

Why people skip it, and what it costs them

A permit adds a few hundred dollars and calendar time for review and inspection. Skipping it feels like saving both. The bill arrives later in three ways.

At sale. Unpermitted work surfaces in disclosure or appraisal. Buyers discount it, lenders occasionally refuse it, and retroactive permitting is more expensive and more invasive than permitting would have been.

At claim time. An insurer investigating a kitchen fire or water loss will look at whether the electrical and plumbing were permitted and inspected.

At the next renovation. The next contractor opens a wall, finds unpermitted work, and now it is your problem to correct before they can proceed.

The practical approach

Ask your contractor who pulls it, in writing. A licensed contractor pulling the permit in their own name carries the liability. A homeowner pulling it as an owner-builder carries it personally, and some contractors will suggest this precisely for that reason.

Permit the whole scope at once. Splitting a project to stay under a threshold is the kind of thing that is obvious to an inspector and creates exactly the record you were trying to avoid.

For the sequence a permitted job follows, see the bathroom remodel process, which runs on the same inspection logic.

Frequently asked questions

Do I need a permit for a kitchen remodel?

Yes if you move plumbing, alter electrical, change a wall or change an opening. No for cabinets, countertops, flooring, appliances and paint in the existing layout. Confirm with your local jurisdiction, because the rules are set locally.

Do you need a permit to replace kitchen cabinets?

Not normally, when the layout stays the same and no plumbing or electrical moves. Cabinets are considered a finish, not a structural or system change.

Do you need a permit to move a kitchen sink?

Yes. Relocating a sink changes the drain and supply lines, which is permitted plumbing work in essentially every jurisdiction.

What happens if you remodel without a permit?

It typically surfaces at sale, at an insurance claim, or during the next renovation. Retroactive permitting generally costs more than the original permit and may require opening finished work.

How much does a kitchen remodel permit cost?

Usually a few hundred dollars for a residential kitchen, scaled to the declared value of the work. The larger cost is the calendar time for review and inspection, which has to be built into the schedule.

Not sure whether your plan triggers a permit? Bring your layout to our Derwood showroom. If it does, we will tell you before you order anything. Call (301) 939-0009 or book a showroom visit.